
Introduction
This is the assembly guide for the TankJet 80 (Cloud Sellers Tankman).
Tools
-
-
Parts list and exploded view: 80-100-Tankman-BOM.pdf
-
-
-
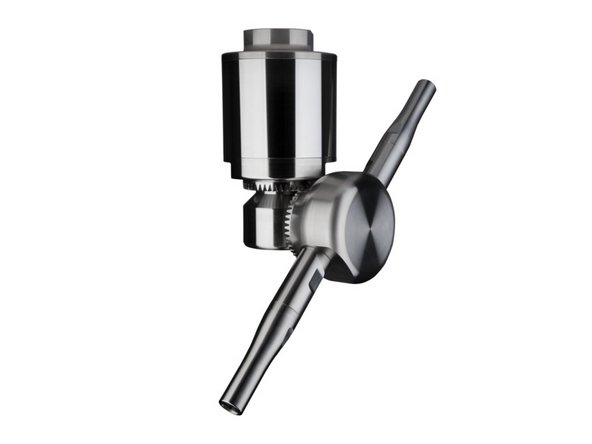
Turn Nozzle Assemblies into the Nozzle Carrier and torque to 60 Ft-lbs.
-
Apply anti-seize to all threads.
-
-
-
The Tankman assembly is complete!
-

Almost done!
Finish Line
Cancel: I did not complete this guide.
2 other people completed this guide.